This Tutorial is about sending multiple attachments from Power Apps to Power Automate without attaching your Form to SharePoint.
##Requirements
Before we can start, we need the following:
##Adding Attachment Control (Skip if you already know how to add Attachment control in your Form)

First, let go to https://make.powerapps.com/, then create a new Canvas App
On PowerApps, there is no available control for attachment. We can have an Attachment Control by connecting our Form to any SharePoint.

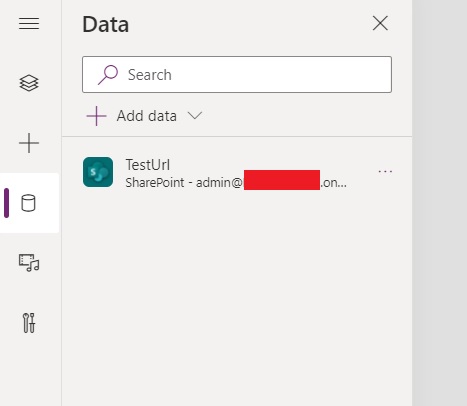
**Note: Feel free to connect to any site on your farm. It does not matter what list you'll use.**
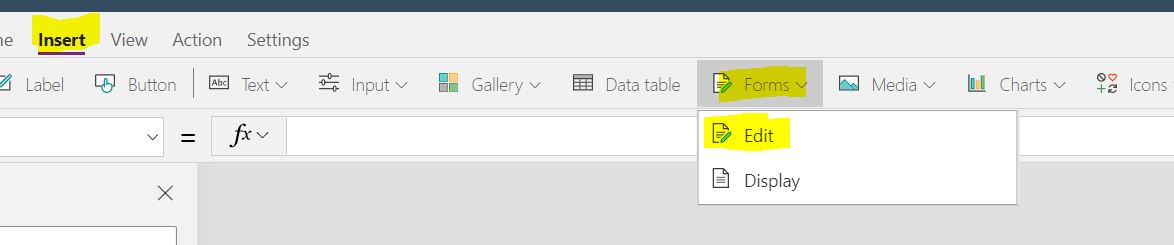
- After connecting to a SharePoint list, go to your Screen and then select Insert > Forms > Edit.’
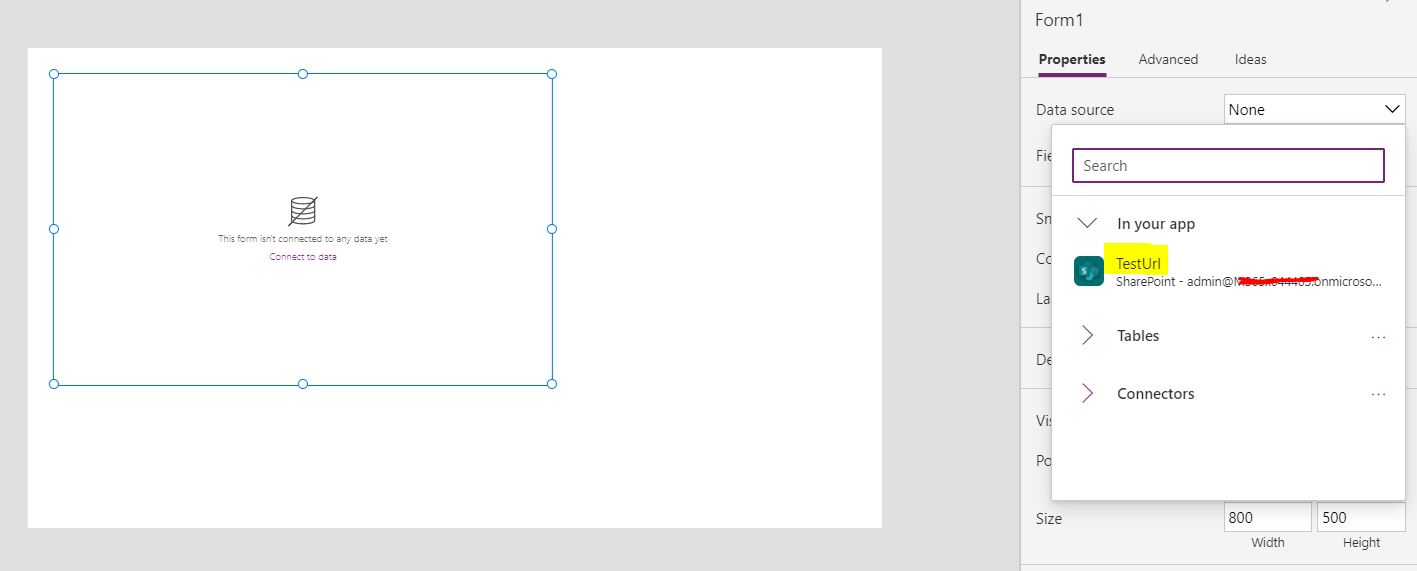
- It will create a Form control, try to connect that new Form control to the Sharepoint List connection we did earlier
- Now, from here, just copy(Ctrl + C) the Attachment control that is inside the Form Control and Paste (Ctrl + V) it on your other Screen
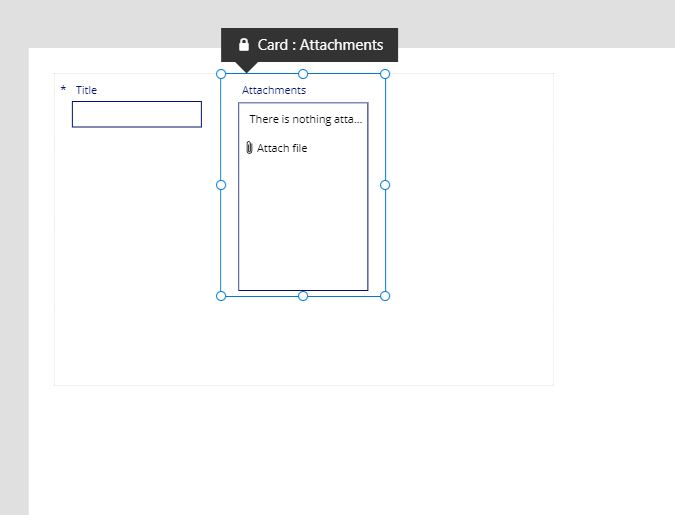
- After Pasting, you will now have an attachment control with errors on it(because it’s trying to find properties from its parent form control); with that, go to each error and try to clear it.
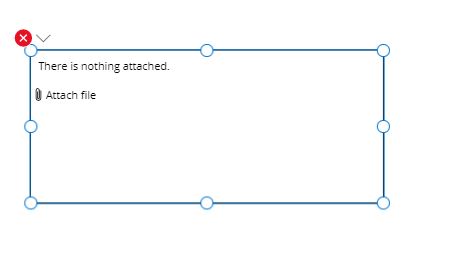
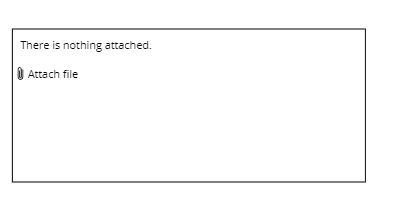
- After resolving all errors, you should end up with Attachment control useful in your Form.
##Using now our Attachment Control and Passing the files to Power Automate
- Now that we have an attachment control(DataCardValue1) on our Form, unfortunately, we cannot just use that and pass it on to Power Automate. We need to have many conversations about its properties before it would be helpful for Power Automate.

- Let’s try to upload files in the Attachment control(DataCardValue1) and use the code below. I tried inserting the “Attachments” property of my Attachment control into a collection, and I ended up with the following values:
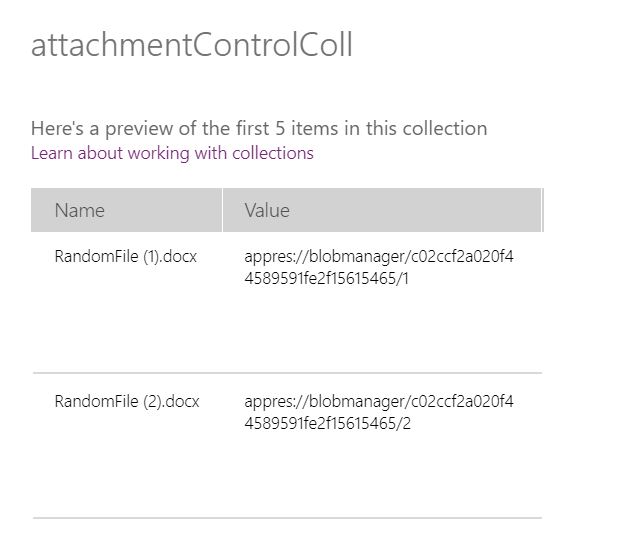
Name - This is the filename(obviously) of the files I uploaded in the control
Value - This string here is just a pointer in our memory; we haven’t uploaded the files in Power Apps yet, so it’s useless if we send Collection directly to Power Automates.
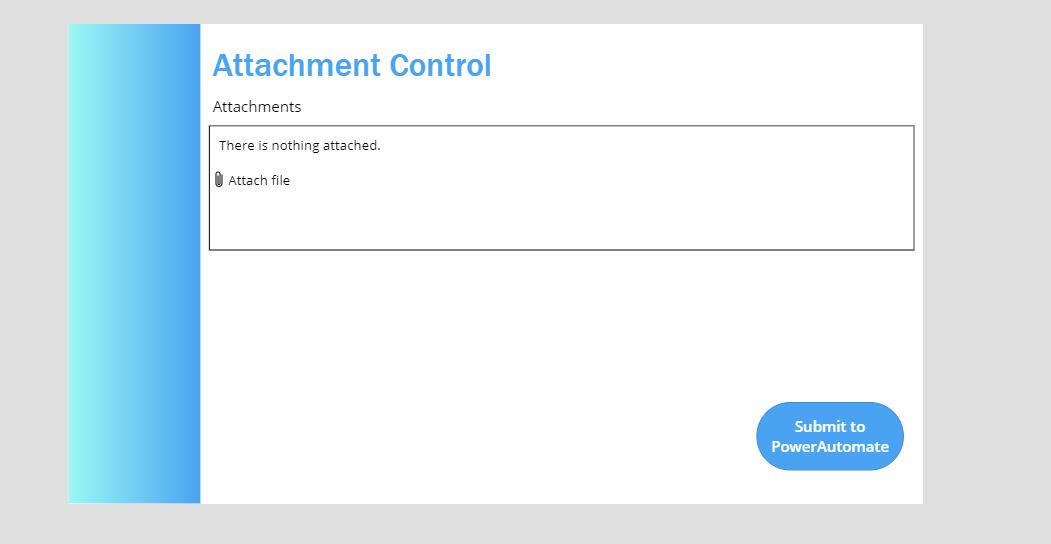
Note that I added the code below in my “OnSelect” of my submit button(Blue button on the lower right corner)
"ClearCollect(attachmentControlColl,DataCardValue1.Attachments);"
- Now that we have the file, to become useful, we need to trick the browser into uploading it somewhere, not just in memory. We can do that by using Gallery Control(Gallery1). And inside that Gallery, we need a Label control(FileNamePlaceholder) and an Image control(ImagePlaceholder)
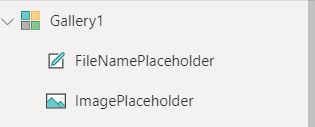
- Once it’s added, I suggest hiding Gallery Control(Gallery1). Because we do not need to show this control to our user
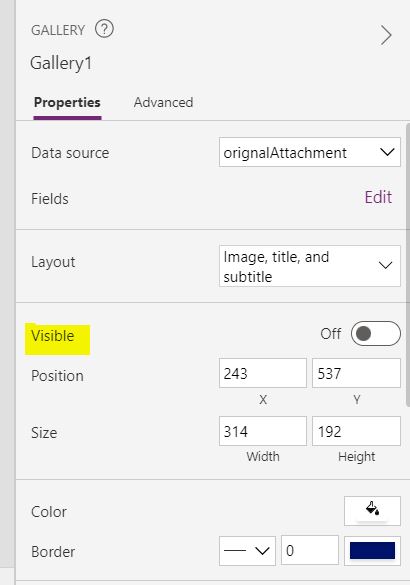

- Now, remember earlier that we use the Submit button to fill up the values inside our Collection called attachmentControlColl, we will not use that Collection to populate our Gallery Control(Gallery1), and we can do that by changing the “Item” property of our Gallery to “attachmentControlColl”
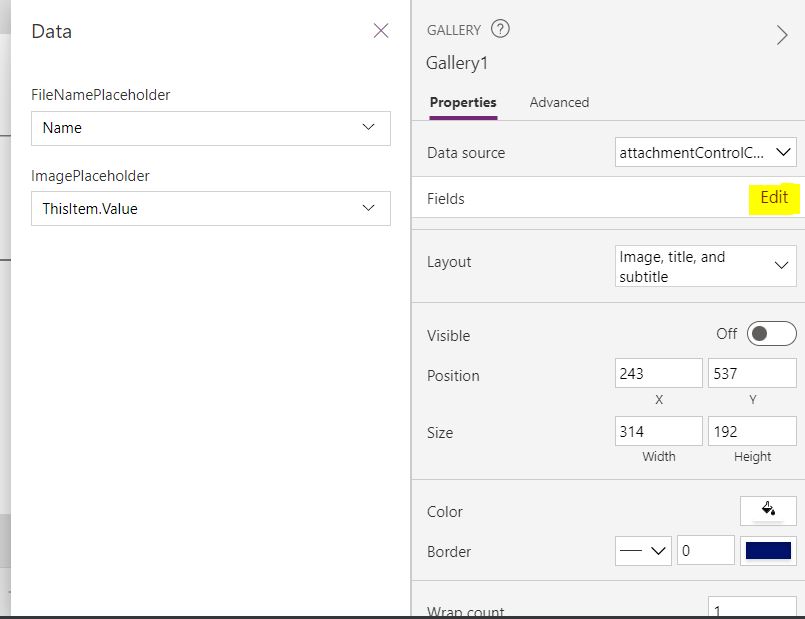
- Now that the Gallery Control(Gallery1) is now populated, we will assign the Label(FileNamePlaceholder) and Image(ImagePlaceholder) control inside our Gallery to the different property of our Collection (attachmentControlColl). We can do that by editing the “Fields” Property.

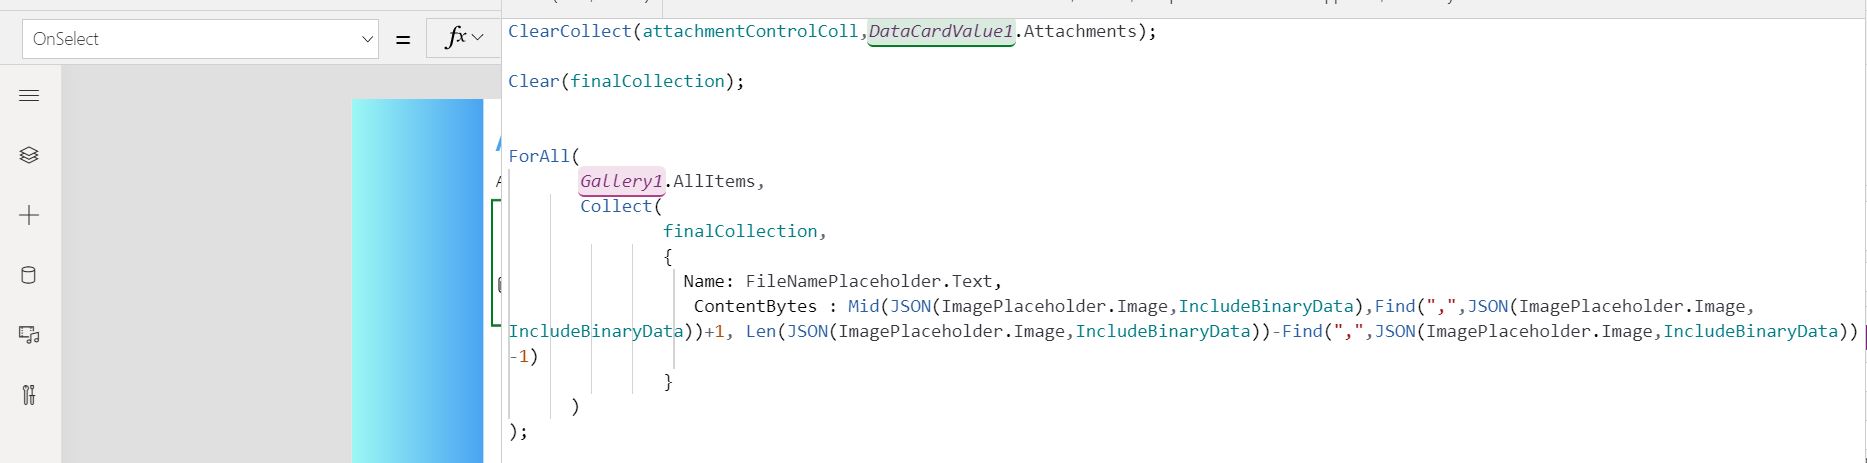
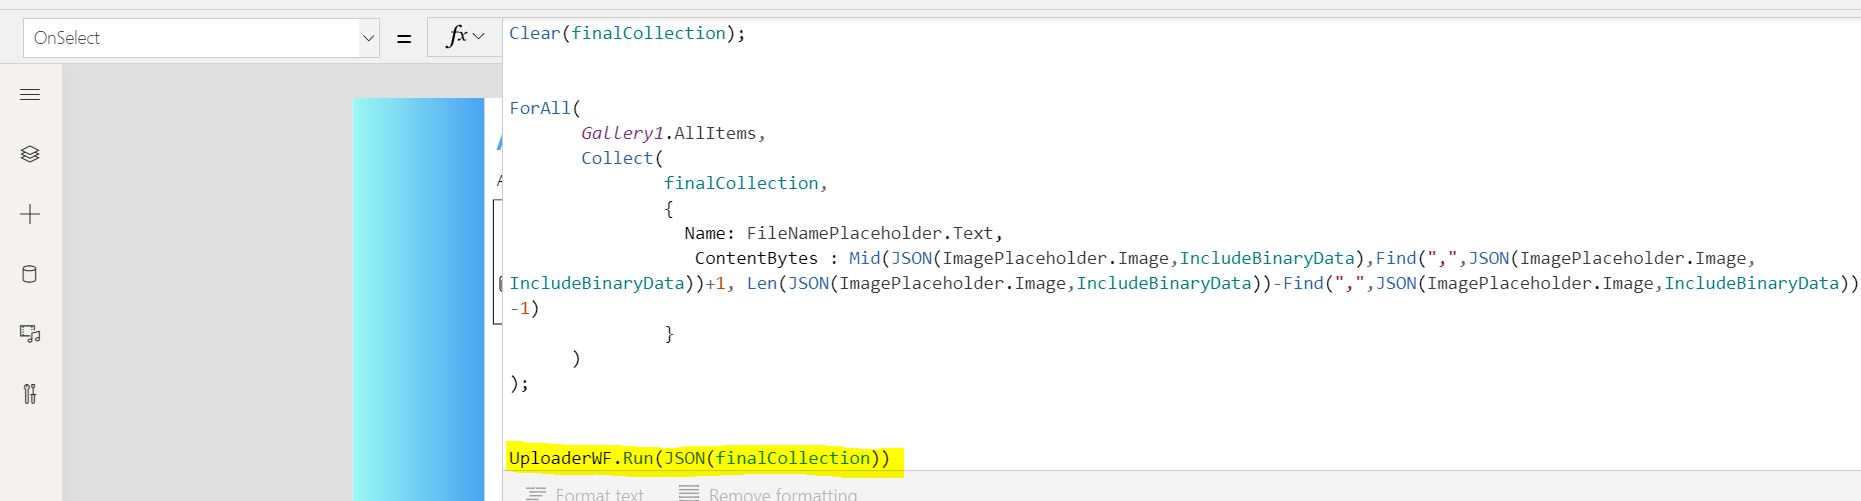
- After assigning our property to the correct control, we will add more code in our Submit Button. First, we need to create a new collection, calling it “finalCollection”. Now since we load the files in our image, it’s no longer sitting in the memory of our browser. So our next step now is pulling it back to a new collection(finalCollection) to send it to Power Automate.
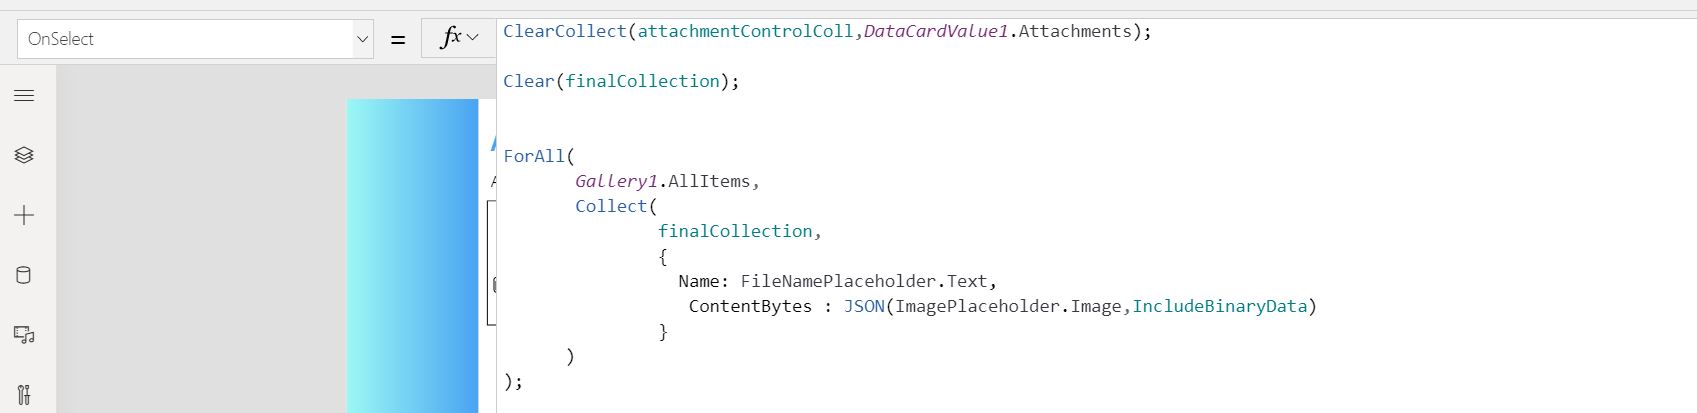
"Clear(finalCollection);"
ForAll(
Gallery1.AllItems,
Collect(
finalCollection,
{
Name: FileNamePlaceholder.Text,
ContentBytes : JSON(ImagePlaceholder.Image,IncludeBinaryData)
}
)
);
- After creating a new collection, we will now pull the data from our Gallery Control(Gallery1) and copy it to our new Collection (finalCollection)
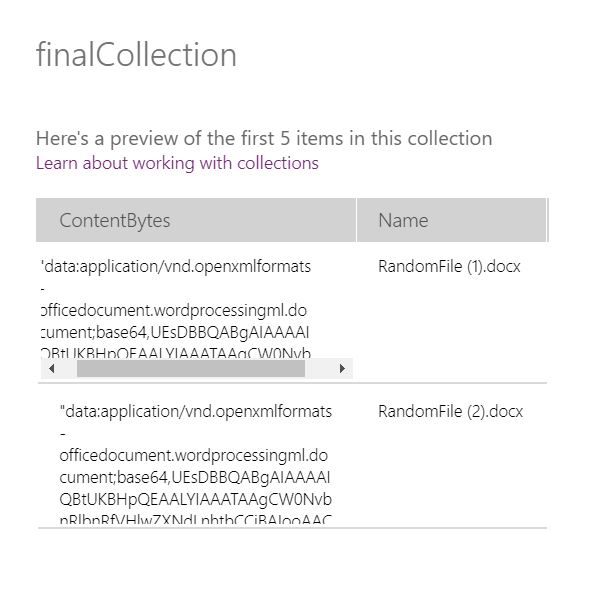
After storing it on a collection, the output would be like this.
Note that this Collection (finalCollection) is still ready to be sent to Power Automate. What we need to do next is do some trimming on it, so it’s on Base64
ContentBytes : Mid(JSON(ImagePlaceholder.Image,IncludeBinaryData),Find(",",JSON(Image4.Image,IncludeBinaryData))+1, Len(JSON(Image4.Image,IncludeBinaryData))-Find(",",JSON(Image4.Image,IncludeBinaryData))-1)
- So Basically, your submit button OnSelect should look like this
- For now, we are done with our PowerApps; we will now build our Power Automate
##Using now our Attachment Control
Create a blank PowerAutomate that PowerApps will trigger.
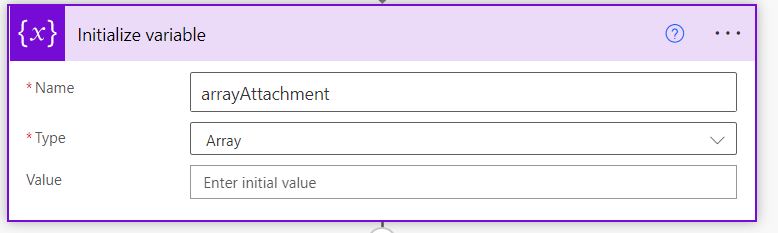
First is to initialize an array variable
- After that, we need a “Parse JSON” action so that the Collection that will be coming from Power Apps could be used here in Power Automate
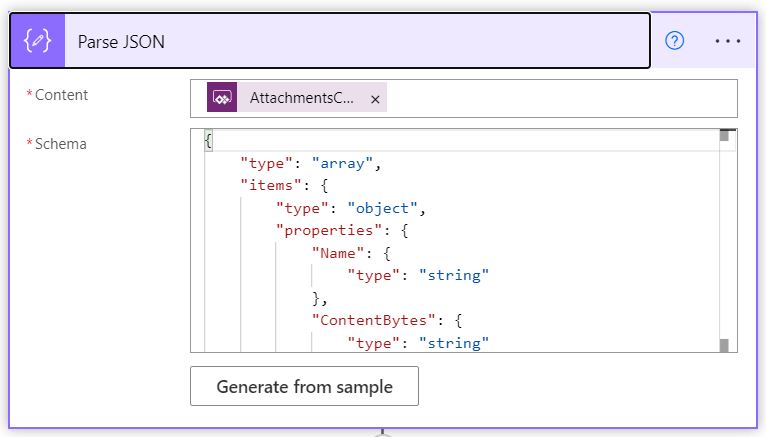
{
"type": "array",
"items": {
"type": "object",
"properties": {
"Name": {
"type": "string"
},
"ContentBytes": {
"type": "string"
}
},
"required": [
"Name",
"ContentBytes"
]
}
}
- After doing a Parse JSON, we can now use it in a loop and then using the “Convert” action, we will convert the “ContentBytes” property from Base64 to Binary using the following code
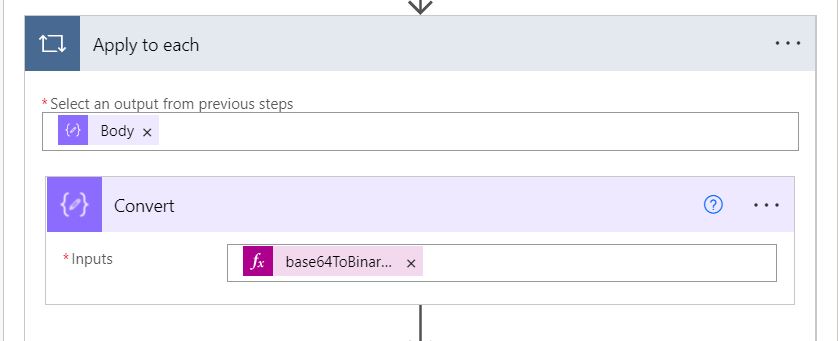
@{
base64ToBinary(items('Apply_to_each')['ContentBytes'])}
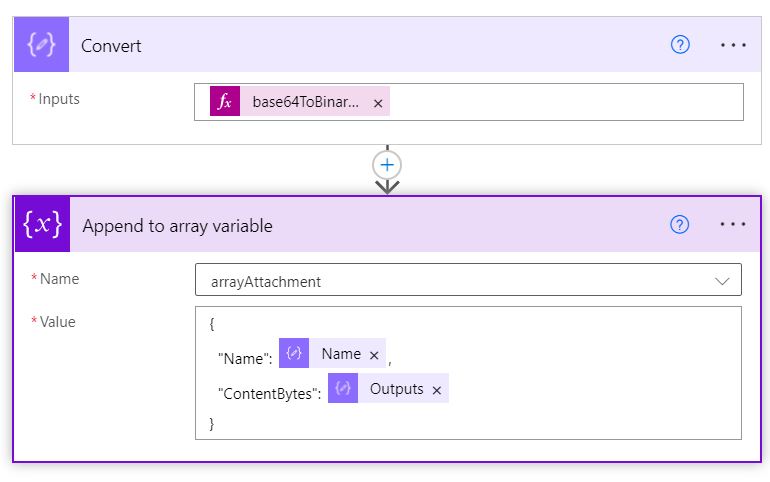
- After doing a conversion, we will now append this value to our array along with the filename
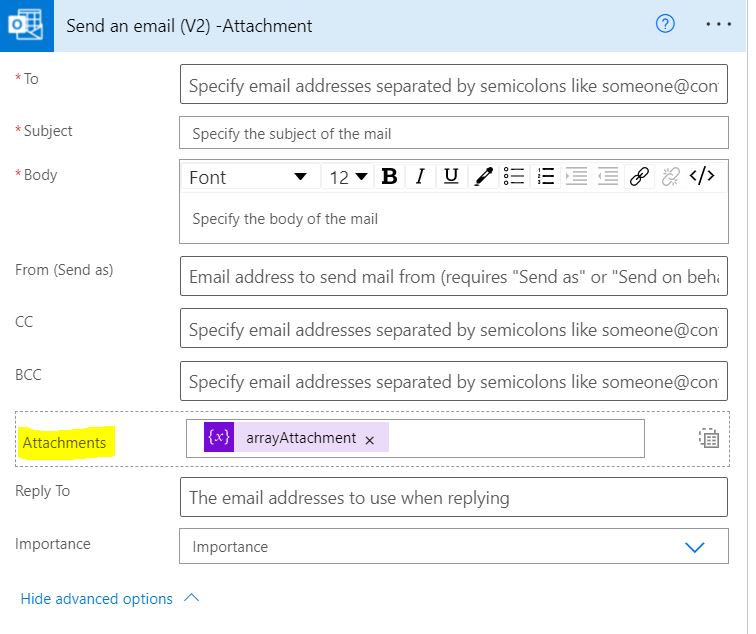
- After your loop, you can use this array to attach it any you like. I would be used to in the “Send an email V2” action. Note: I only use Send email action to simplify things and showcase how to send attachments in your Power Automate.
- Now that our Power Automate WF is complete, we need to go back to our Power Apps earlier and complete our submit button by adding the “run” function to pass the “finalCollection” to Power Automate
- After hitting the submit button, you should receive an email with an attachment on it.


